
FIELD GUIDE / ABILITIES
CONTROL Resonant Abilities and How to Unlock Them
Dylan's abilities come from two different progress tracks. Jesse Sightings Faults unlock the movement tools needed to cross Manhattan; Resonant bosses award Combat Abilities that shape a loadout. When a route seems physically impossible, check the traversal track first. When a fight feels limited, check which Resonant reward and upgrade nodes you have.
On this page · chapters and routes
The choice offered after a boss gives you one ability immediately. A Reset Item can revise choices, while the Resonant Token earned from Pope's Research in the Unknown can unlock an additional previously offered Combat Ability in The Gap. That later token is a limited progression reward, so it is better to choose for the current stretch of the game rather than assume every skipped branch will be free soon.
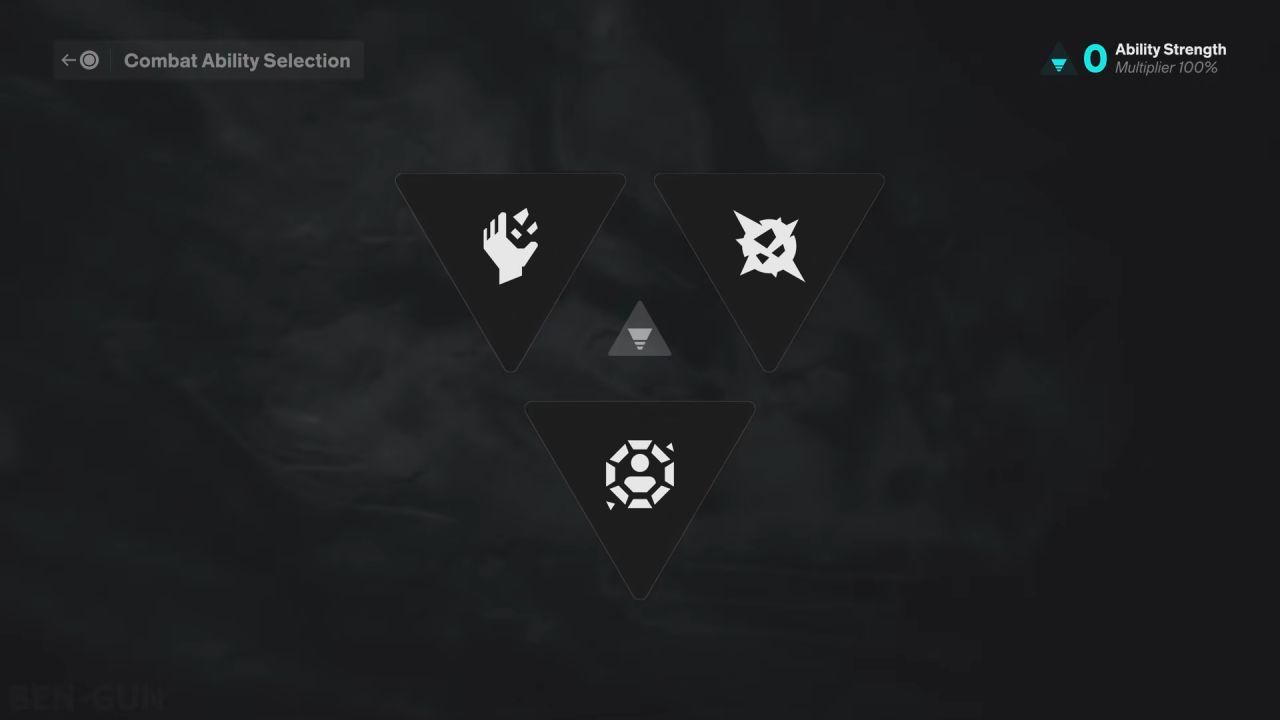
Source image: NoobFeed's ability guide.
Ability unlock index
All five traversal abilities and twelve named Combat Abilities are indexed here. A boss-choice row identifies an option, not an automatic grant of every option.
QUICK INDEX
Ability routes
Double-Jump
Downtown Fault during Orientation · Second airborne jump
Elevate
Downtown Fault · Glide and slow descent
Rush
Downtown Fault · Fast movement; cleansing requires the relevant Talent
Shift
The Incursion Fault, West Incursion · Walk along altered-gravity surfaces
Reach
The Subway Fault, Evacuation · Pull toward spherical grapple points
Barrage
Artist choice · Ranged projectiles
Volatile Anomaly
Artist choice · Throwable entity
Shield
Artist choice · Protection and Shield Bash
Ignite
Deserter choice · Burn on weapon attacks
Inferno
Deserter choice · Fire waves
Push
Dancer choice · Displace enemies
Ground Slam
Dancer choice · Aerial impact and rooftop barriers
Spore Burst
Collective choice · Mold projectiles; Infected
Growth
Collective choice · Summoned Mold allies
Spike
Physicist choice · Persistent Astralized pressure
Astral Rebuke
Physicist choice · Launch enemies; Astralized
Command
Unknown Resonant · Temporary ally; requires purple charges
Traversal abilities: open the route first
| Ability | Unlock route | What it does for exploration |
|---|---|---|
| Double-Jump | Downtown Fault during the early Orientation sequence | Adds a second airborne jump |
| Elevate | Downtown Fault | Slows descent and lets Dylan glide across gaps |
| Rush | Downtown Fault | Speeds movement; Cleansing Rush adds status recovery |
| Shift | Jesse Sightings: The Incursion Fault, West Incursion Zone | Reorients gravity along bent streets and walls |
| Reach | Jesse Sightings: The Subway Fault, Evacuation Zone | Pulls Dylan to spherical grapple points |
These are progression tools, not optional damage upgrades. Shift opens the path to the Dancer and several inverted areas. Reach is taught through the Subway Fault and appears later in camera, dog, and story routes. If a collectible is visible but unreachable, it often belongs to a later cleanup pass after a Fault rather than a secret early jump.
Combat Abilities by encounter
| Encounter | Immediate reward choice | Combat role |
|---|---|---|
| The Artist, Downtown | Barrage, Volatile Anomaly, or Shield | Projectiles, throwable entity, or defense and Shield Bash |
| The Deserter, Central | Ignite or Inferno | Burn added to your normal attacks, or dedicated fire waves |
| The Dancer, West Incursion Zone | Push or Ground Slam | Displacement, or area damage that benefits from height |
| The Collective, The Park | Spore Burst or Growth | Rapid Mold projectiles, or summoned Mold allies |
| The Physicist, Underpass | Spike or Astral Rebuke | Persistent Astral pressure, or launching enemies upward |
| The Co-Director, Unknown | Command | Turn an enemy into a temporary ally; recasting needs Command Charges |
These descriptions summarize what the abilities do, not a universal ranking. Shield is a forgiving Artist choice for players learning bosses, while Barrage and Volatile Anomaly support more active offense. Ignite versus Inferno has a dedicated decision guide because that choice changes the rhythm of Fire use. Ground Slam is also relevant outside combat: some Freeze Frame paths use it to break rooftop ability barriers.
Command differs from the two-way rewards: it unlocks after the Unknown Resonant and uses purple Command Charges. The boss index lists the route gates for each fight.
Six slots and status combinations
Loadout uses two sets of three Combat Ability slots. Unlocking a reward and placing it in a slot are separate steps: interact with the Mural in The Gap, assign each available ability, then switch sets to check all six. Pope’s Research supplies the Resonant Token for an additional previously offered choice. A Reset Item changes a choice; it does not permanently add every alternative.
Burn and Infected can combine into an explosion, while Astralized helps Burn and Infected build up. Apply these to durable enemies rather than spending multiple casts on a weak foe. Your Artist, Dancer and other boss choices still constrain which abilities you can equip on a first playthrough.
Plan a loadout around Power
A powerful ability that empties Power at the wrong time can make a build less safe. Decide which action is your usual offense, which is your emergency defense or control, and how your weapon forms create time to use both. For a melee-focused player, Ignite can add Burn without replacing the regular combo; for an ability-focused player, Inferno can justify more Power generation. The build guide connects those choices to Talents, Artifacts, and Build Power.
If you missed an ability you now want, check The Gap for Reset Items or, after Pope's Research, the Resonant Token. Read the current in-game description before spending scarce resources, particularly after balance updates. Return to the guide hub for the rest of the movement and combat routes.
Sources and notes
Game details are based on the linked guides and supplied research. They have not all been independently tested in game.