FIELD GUIDE / QUESTS
Unsupervised Science: Six Testing Facilities and the Threshold
Unsupervised Science has six underground FBC testing facilities. Downtown, Evacuation Zone, and West Incursion Zone ask you to transform objects into Soda Dispensers. Central, The Park, and the Unknown use a 60-second power-balancing shutdown.…
Unsupervised Science has six underground FBC testing facilities. Downtown, Evacuation Zone, and West Incursion Zone ask you to transform objects into Soda Dispensers. Central, The Park, and the Unknown use a 60-second power-balancing shutdown. Completing all six opens a final Threshold passage in the Unknown; the side story does not end when the sixth console turns green.
YOUR PROGRESS
Your collection checklist
Marks are saved in this browser only. This is a guide checklist, not your game save.
Enable JavaScript to save checklist progress.
Unsupervised Science has six underground FBC testing facilities. Downtown, Evacuation Zone, and West Incursion Zone ask you to transform objects into Soda Dispensers. Central, The Park, and the Unknown use a 60-second power-balancing shutdown. Completing all six opens a final Threshold passage in the Unknown; the side story does not end when the sixth console turns green.
You can discover a facility before the Quest Log formally tracks the whole story. One starting route has you play Dr. Grant's Voicemail beside Dr. Roland Milbeck's body. The objective then reads “Shut Down the Experiments.” The facilities can be done in different orders.
Find the entrances below the map markers
The facility icon points to an area at street level, while the lab doorway is usually in a pipe, pit, garage, or sewer below it. This table combines the supplied PowerPyx and AllThingsHow routes.
| Zone | Reliable entrance landmark | Puzzle | Useful result |
|---|---|---|---|
| Downtown | Ground-floor pipe inside the Deserted Area construction site, leading east | Soda Dispensers | Power Upgrade |
| Central | Open pit southeast/east of the Patterned Factory | Power Cores | Power Upgrade and research note |
| Evacuation Zone | Pipe below the Survivalist's Bunker travel door, via the garage near “Unauthorized mines?” | Soda Dispensers | Testing Facility Coordinates file |
| West Incursion Zone | Pipe in a central road construction pit | Soda Dispensers | Power Upgrade |
| The Park | Sewer Route on the east side; take the southeast path, then the northeast path from the lava room | Power Cores | Emergency Hood and other rewards |
| The Unknown | Construction pit west of Twisted Rooftops on the ground-facing layer | Power Cores, then final Threshold | Firebreaker Goggles and quest conclusion |
Evacuation Zone is a useful early stop because its Testing Facility Coordinates document reveals the other lab markers. It still does not place you directly at their entrances. There is no Underpass facility in this six-site checklist.
Soda Dispenser rooms: change the object, then place it
In the Downtown, Evacuation, and West Incursion rooms, each marked square needs a Soda Dispenser. Objects begin as sinks, grills, copiers, or dispensers. Carrying one across the room's yellow boundary lines changes its form. The whiteboard or terminal note shows the cycle. Focus on the object's form when you set it down, not what it looked like when picked up.
Downtown has five objects around the room. Start with the sink on the east side and cross the adjacent lines until it becomes a dispenser for the center square. The grill on the south side needs a northward crossing. A southeast copier can be taken east and then north to its marked square. Two further objects sit on or near the northern ledge and eastern side; loop them around the T-shaped intersections until they are dispensers in the remaining squares. Then operate the switch near the computer icon and collect the upgrade from the door that opens.
Evacuation Zone applies the same rule to objects on a walkway, bridge, and southeast floor. West Incursion Zone spreads its objects around a central T intersection and an under-bridge spot. If you change an object too many times, carry it through the intersection again; the states cycle, so the mistake is recoverable. After every square shows the correct form, return to the console and use the shutdown switch. Merely placing the final dispenser does not shut down the lab.
Power Core rooms: balance the full 60 seconds
Central, The Park, and the Unknown are timed balancing tasks, not another object-transformation puzzle. Start the shutdown at the console. For roughly 60 seconds, demand shifts between sockets. When an inactive core flashes red, move charge from a powered core to the one asking for it. The correct arrangement changes during the countdown, so a static “put core A in socket B” answer cannot solve the whole minute. The shutdown aborts if the load stays imbalanced.
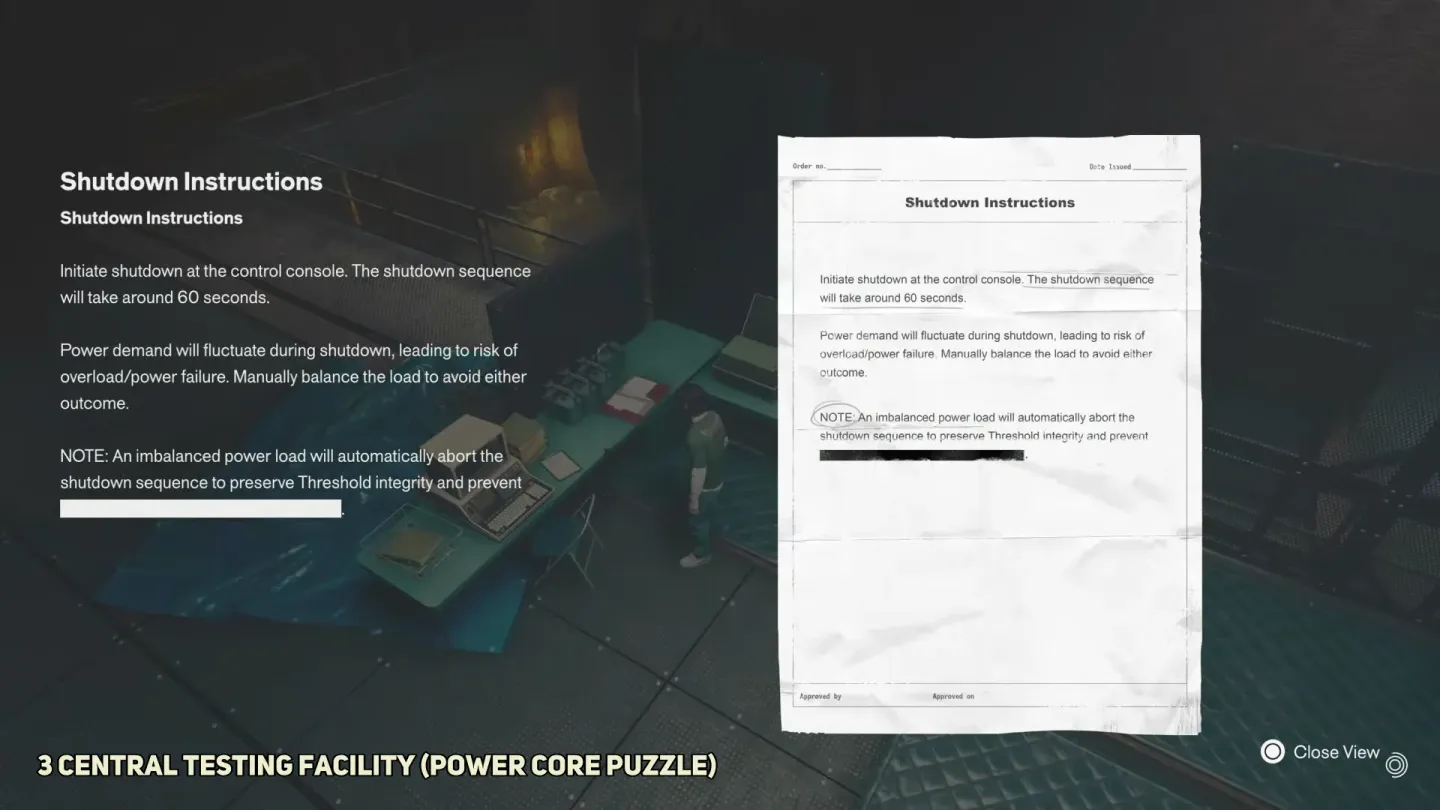
Source image: AllThingsHow's Unsupervised Science guide.
Central's room has four cores, with two charged at the start. The Park also uses four across raised and floor platforms. The Unknown increases the count to five across upper and lower levels. Keep your view on the warning lights, carry power toward the flashing need, and wait for all stations to turn green. Once the countdown succeeds, return to the switch and collect the unlocked-room reward.
Enter the Unknown Threshold
After the sixth facility, check for the objective “Go Into the Threshold.” Return to the Unknown facility if you finished the other lab last. The passage opens beside the room containing its upgrade reward. In the Threshold, the name-marked left and straight routes turn Dylan into objects. Take the right path until a board blocks you, break through, and collect the electrical charge on the left. Bring it back by the direct route. At the fork, go left and socket it into the inactive core to open the sealed room. Collect the materials, return to the fork, continue straight, and interact with the corpse at the corridor end.
Dr. Grant's Final Report closes the story. The supplied guides list an Untapped Scrunchie artifact and progress toward Threshold Researcher, alongside the lab upgrades and accessories. If the quest remains active after all six shutdowns, check the Unknown Threshold objective rather than revisiting every lab first. The trophy roadmap connects this story to the other Threshold tasks; the guide hub has the remaining quest routes.
Sources and notes
Game details are based on the linked guides and supplied research. They have not all been independently tested in game.