FIELD GUIDE / QUESTS
Freeze Frame: All 14 Cameras and the Final Containment
Freeze Frame asks you to contain 14 paranatural cameras, two in each zone, before a final Downtown sequence. A camera disappears when it sees Dylan, so the solution is usually an alternate path behind it. Walk away until you hear the click that…
Freeze Frame asks you to contain 14 paranatural cameras, two in each zone, before a final Downtown sequence. A camera disappears when it sees Dylan, so the solution is usually an alternate path behind it. Walk away until you hear the click that signals its respawn, then use the route you found. You can complete the whole quest in free roam after the story.
YOUR PROGRESS
Your collection checklist
Marks are saved in this browser only. This is a guide checklist, not your game save.
Enable JavaScript to save checklist progress.
Freeze Frame asks you to contain 14 paranatural cameras, two in each zone, before a final Downtown sequence. A camera disappears when it sees Dylan, so the solution is usually an alternate path behind it. Walk away until you hear the click that signals its respawn, then use the route you found. You can complete the whole quest in free roam after the story.
The side story begins near Zoe at the Watchtower. Enter the area to her right through the basement and let the first camera event trigger the Quest Log. The camera icon appears on the map when you get close. The example screenshot below shows that icon in Downtown; it identifies a search area, not the path to the blind side.
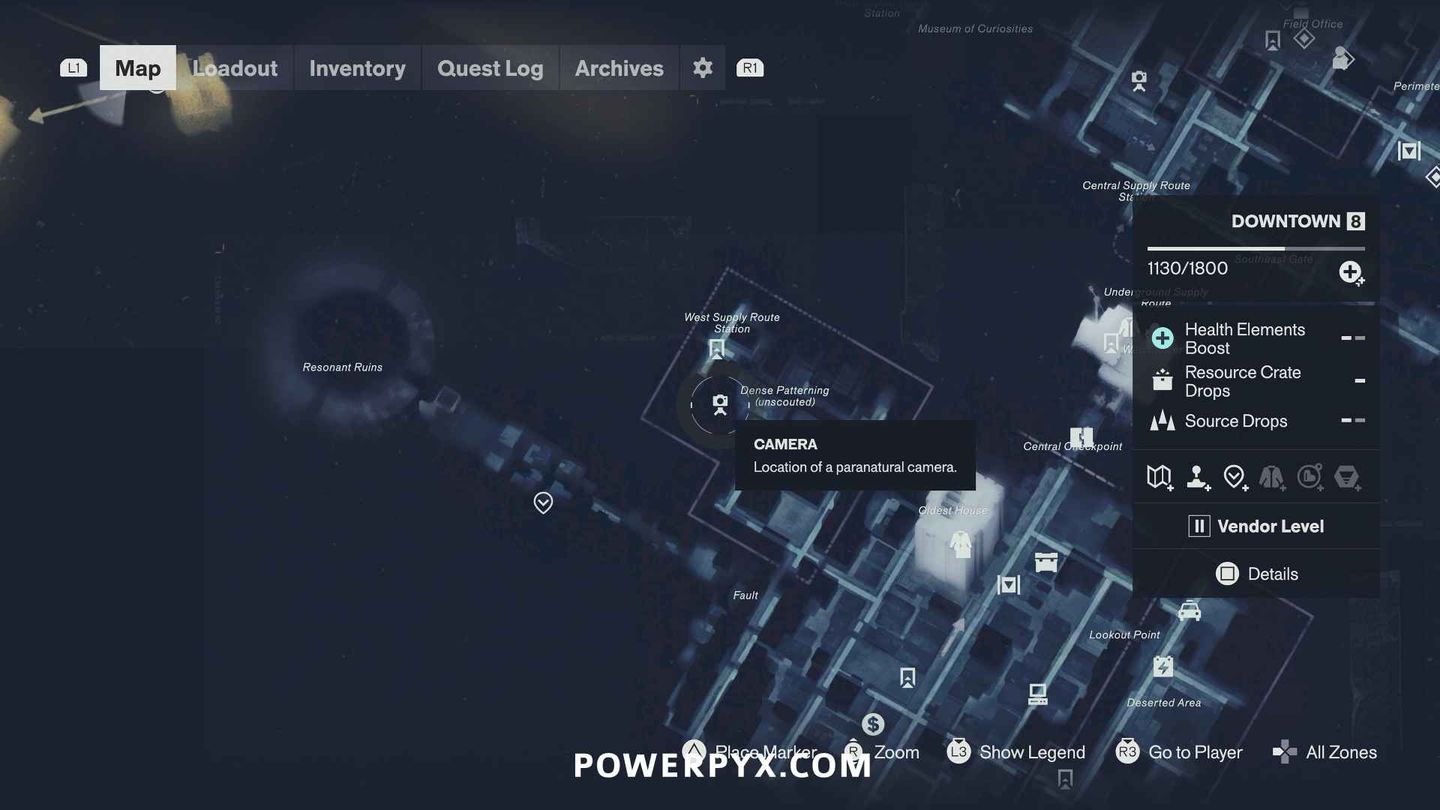
Source image: PowerPyx's camera walkthrough.
Prepare before collecting all 14
Several routes require Shift, Reach, Ground Slam, and a fire ability such as Ignite or Inferno. Shift and Reach come from Jesse Sightings Faults; Ground Slam is a choice after the West Incursion Resonant; Fire comes from the Central Resonant choice. If a camera is visible but its rear path is sealed, finish the relevant progression first. The abilities guide and Reach guide explain those unlocks.
The PowerPyx camera route confirms two per zone and gives the following access paths. The map icon numbering is a guide convention, so use the zone and landmark to match your save.
Downtown: cameras 1 and 2
Camera 1 sits below a rooftop barrier. Approach the roof from the street northwest of the icon, Shift up the side, then use Ground Slam to break through the barrier above the camera. Dropping behind it avoids the forward-facing lens.
Camera 2 has a locked rear door powered from a Power Core Station north of the camera. Carry electricity to the roof northeast of the icon, then onward to the camera door. Once the rear entrance is open, leave until the camera respawns and return through it.
Central: cameras 3 and 4
For camera 3, start at the Watchtower fast-travel door and descend. Enter the open side storage room, climb its scaffolds, then use the ceiling opening just before the camera ledge. It drops you behind the lens.
Camera 4 is on a rooftop beyond a door and requires Reach. You may first let the camera spot you. Go through the building, unlock the ground-floor door from inside, and step into the street until the respawn click. Re-enter through your newly opened shortcut and climb behind it.
West Incursion Zone: cameras 5 and 6
Camera 5 is mounted on a building-side platform. Shift Gravity at the end of the street just west of it. Jump toward the flying platform while gravity is inverted; as you leave the shifted surface, you fall onto the platform. A second platform appears for the approach from behind.
Camera 6 hides on a sideways building in the northwest corner. Shift along the building, look for the camera's red light, and get to the roof above it. Reach is needed for the higher roof. Drop onto its rear rather than walking into the corner from the front.
Evacuation Zone: cameras 7 and 8
Camera 7 is on a rooftop behind an electrically locked door. Take charge from the Power Core Station in the southeast, carry it west along the street marked “Unauthorized mines?”, and relay it through two boxes before the elevator. Reach the roof and power the last cube to open the rear access.
For camera 8, allow the camera to see you and enter the building beyond it. Descend, operate the elevator, and exit at street level. Walk away until the click. The open elevator route now takes you back behind the respawned camera.
The Park: cameras 9 and 10
Camera 9 is in Nomand Avenue Station, reached from the street north of its icon. Take the left route after entering. A webbed wall blocks the rear passage; burn it with Ignite or Inferno and proceed behind the lens.
Camera 10 overlooks a sewer-side building. Bring an electrical charge from the street south of the icon to the elevator just west of it. Ride the powered lift, then jump across to the camera's blind side.
Underpass: cameras 11 and 12
Camera 11 looks out from a yellow-lit corridor on the northeastern island. Stay at the left edge of the platform, look down for a Reach grapple point, then enter the floor opening that leads behind it.
Camera 12 is in a mold area on the island south of Tubes Island. Face the wall holding the camera and find the opposite wall opening. Shift Gravity, follow the red floor, drop through the upper opening, and then fall into the camera's space from behind.
The Unknown: cameras 13 and 14
Complete Pope's Research to reach the relevant islands. Camera 13 is at a construction site behind a hole in blue mold. Enter the main building, go downstairs, defeat the mold ambush, and approach through the same lower room. If the construction site seems absent, flip to the opposite gravity layer.
Camera 14 is in a shop. Let it see you, pass into the shop, enter the garage, and hit the red garage-door button. Move away for the respawn click and use the garage entrance you opened to return behind it.
Finish the quest in Downtown
After all 14 individual cameras are contained, answer the call and travel to the new marked Downtown area. Shut off the cameras there by reaching their backs as before. Being spotted can reset this final sequence, so slow down and watch each new position. The quest ends only after the Downtown containment objective clears; collecting the 14 icons is not itself the finish line.
For other Altered Item side stories needed by Panopticon Intern, see The Complete Set and the trophy roadmap. Return to the guide hub for the rest of the quest index.
Sources and notes
Game details are based on the linked guides and supplied research. They have not all been independently tested in game.